---------------------------------------------------------------------------------
Gonna explain the way it needs to be done and how to do it.
Softwares used.
1. Photoshop Cs3
2. C4D a.k.a Cinema 4D
---------------------------------------------------------------------------------
:: Guide ::
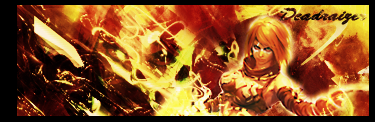
Ending result should be something like this.
Tried to make it as simple as I could. Post in your doubts here. and I shall try to reply to them. but I think experimenting wid different utils in photoshop may turn out the result to be better than mine
--------------------------------------------------------

--------------------------------------------------------
4 steps at a time.. so it goes slow and easy wid u guys.


 [/color]